~ How To Projects ~
Angel Christmas Cross Stitch Patterns
Stitch these cute cross stitch Christmas angels and make them into ornaments. Free cross stitch patterns for Christmas.

Click below for more
Craft Projects and Patterns
|
~ Projects By Theme ~
- Animals
- Seasonal
- Holidays
|
|
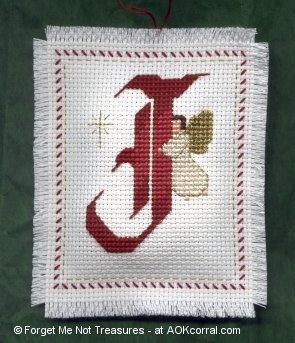
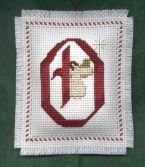
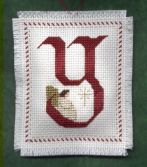
JOY Angels Christmas Ornaments for Cross Stitch
~
November 2005
|
|
|
- 14 count aida cloth in white (You will need enough to have six pieces that each measure 53 squares wide and 62 squares high.)
- Embroidery Floss according to Color & Floss Key - Click Here
- Cross Stitch Needle
- Sharp Scissors
- Polyester Stuffing
- Cross Stitch Chart Patterns for J - O - Y
|
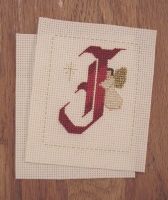
- If you have not already cut out each of the letter ornaments, you can do so now. Be sure to cut them out at exactly 53 squares wide and 62 squares high. You can use the cut lines around the squares shown in each chart as an example.
- Place one completed letter piece on top of one blank piece. (or if you wish you can stitch 2 of each letter and place them back to back so that both sides of the ornament show the design.)
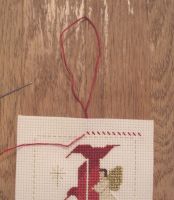
- Begin joining them together with the red backstitching as instructed in the chart and starting on the top.
- Halfway across the top, send your needle into the first piece only and leave a loop of floss above the ornament. Continue by sending your needle into the second piece but do not pull that loop through, leave it to create the hanging string.
- Continue stitching around the ornament as instructed but on the last side, stop about halfway and put a small amount of polyester stuffing into the ornament.
- Continue stitching to the end and finish with a knot.
- To create the frayed edges; unravel the ends by pulling the threads of 3 square sections out of the weave on all sides. This will create a frayed edge look.
|
|
|


