~ How To Projects ~
Vegetable Appliques
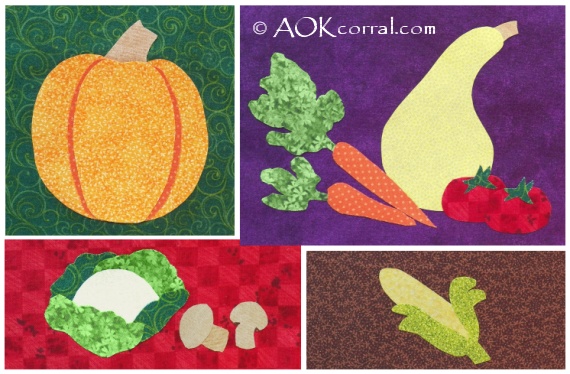
Make appliques for a garden quilt, table runner, kitchen project or more with our vegetable applique pattern set.

Click below for more
Craft Projects and Patterns
|
~ Projects By Theme ~
- Animals
- Seasonal
- Holidays
Get this entire project
WITHOUT
Ads, Banners, Logo or Margins
The Easy Print Version contains the pumpkin, 7 other vegetable patterns, a bonus garden rabbit pattern, and instructions.
Purchase the Ad Free / Easy Print Version for only $2.49

|
|
Vegetable Applique Patterns
~
April 2014
|
- Fabrics in colors for your project
- Fusible adhesive such as Heatn Bond
- Iron and Ironing Board
- Pencil or Pen
- Fabric Scissors
- (Optional: Needle and thread colors to match fabric if you plan to stitch the edges.)
- Pumpkin Applique Pattern - 4.25" to 4.75" Project Area (below)
- Carrots, Tomato, Squash, Lettuce, Mushrooms, and Corn Patterns are available on our Easy Print Version for purchase (see button below)
|
Note: Be sure to use the right fusible adhesive for your project. If you plan to stitch the edges of your appliqué, you should use a light fusible adhesive. If you do not want to stitch the edges of your appliqué and you want it to be washable then you should use a strong hold fusible adhesive. Look for fusible adhesives in your fabric store near the interfacing.
- Cut out all the pattern pieces for the vegetables that you wish to appliqué.
- Lay your fusible iron-on adhesive out with the paper side up.
- Trace each of the pattern pieces, for one fabric color, onto the paper fairly close together.
- Cut the fusible adhesive paper around the whole group of traced patterns.
- Lay the adhesive, paper side up onto the wrong side of your fabric.
- Follow manufacturers instructions for bonding the adhesive with your iron.
- Cut out each of the pieces and peel off the paper backing.
- Repeat steps 2 through 7 with each other fabric color.
- Follow the pattern placement guide if needed to stack the pieces in the correct order when bonding.
|
Project
Options:
|
1.) Read or Print this project from our website, as is, for free.
|
2.) Purchase Easy Print Version - Download NOW:
- Convenient - NO ads, menus, or margins - Save ink and paper
- Complete - All instructions & patterns for this project + Bonus*
*This version includes Pumpkin pattern Plus patterns for Carrots, Tomotoes, Corn, Lettuce, Mushrooms, Squash, and a Garden Rabbit.
|

|
|
|
|


