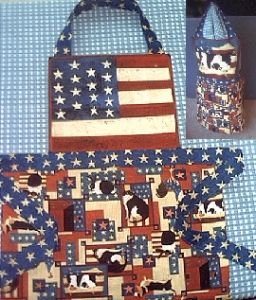
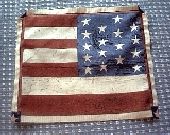
- Approx. 2 yards Americana Fabric or any other kind. (You can use 2 to 3 different coordinating fabric designs.)
- Iron & Ironing board
- Thread
- Scissors & Cutting board
- Tape measure
- Sewing Machine
|
- For Top: 2 pieces, 14 1/2" wide x 12 1/2" high
- For Bottom: 2 pieces, 23" wide x 19" high
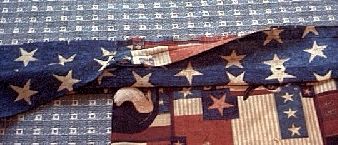
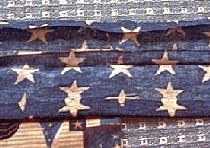
- For Neckband: 1 piece, 21" x 5"
- For Waistband: 2 pieces, 75" x 3"
Step #1: Piece #3 - Neckband
- Fold neckband in half long ways, right sides together.
- Pin in place.
- Stitch along long raw edge (1/2" seam allowance)
- Turn right-side-out.
- Press
- Edgestich along seam edge.
Step #2: Pieces #1 - Top & Neckband

- Lay one Top piece out flat, right side up.
- Pin finished neckband into place on Top piece as shown in photo. ( To do this, Lay neckband on Top piece parallel with upper edge of Top piece, then turn the neckband ends toward upper edge. They should be placed approx. 1 inch from the side edges.)
- Pin and then Stitch in place. (1/2" seam allowance)
- Lay the other Top piece down so that right sides of both Top pieces are together.
- Pin & Stitch around the two sides and top edge only. (5/8" seam allowance)
- Clip corners, turn right-side-out.
- Press
Step #3 Pieces #2 - Bottom
- Lay out the two bottom pieces with right sides together.
- Pin in place.
- Stitch the two sides and bottom edge only. (Important: You must leave 5/8" unstitched at the top of each side.)
- Clip corners, turn right-side-out.
- Press.
Step #4 Pieces #4 - Waistband & Bottom
- For each waistband piece: Fold both short ends to inside 1/2" and press, fold one long edge to inside 1/2" and press.
- Lay the finished apron bottom out flat.
- Center one of the waistband pieces, right sides together, raw edges even, along the upper edge of the apron.
- Pin them together making sure not to catch the other side of the apron in the pins.
- Turn the apron over and pin the other waistband piece in the same manner.
- Stitch waistband and apron together for each side (front and back) making sure not to catch the other side in the stitching. (Stitch only to the edge of the apron as shown, let the rest of the waistband remain unstitched at this point.)
- Next you will need to stitch the waistband bottom together from the edge of the apron, to the end of the waistband.
- Lay the apron and attached waistbands out so that both the front and back pieces of the waistband have their right sides together and raw edges even.
- Stitch the waistbands together 1/2" from raw edges, from the apron edge, to the end of the waistband.
- Do this to both sides of the waistband.
Step #5: Finishing
- Fold each waistband piece up toward seam allowance and press seam flat.
- Edge stitch through all thickness along the entire bottom edge of waistband.
- Lay bottom of apron out flat.
- Lay top of apron out flat and put its bottom edge in between both waistband pieces, center.
- Pin in place.
- Stitch along entire waistband upper edge through all thickness.
- Stitch short ends of waistband together.
|
|